So after a few days playing with Calamares and my “Whonix Desktop” VM and ISO files, I thought it would be time to report back my experience.
See also
For the discussion related to the Whonix Host/Desktop project.
In short, the results are quite encouraging.
What I did:
- I built a hardened debian 15 VM on debian buster (“Whonix-Desktop VM”;
- I run a few custom chroot bash scripts to customize the Whonix-Desktop VM, installed
virt-manager,lib-virt, etc, copied the Gateway and Workstation VMs, installed non-free firmware and created an ISO file out of it (see link above for complete description) - On top of that I installed the
Calamaresinstaller to try it out (in buster repos)
After a few tests I have now a working ISO file that correctly installs the “Whonix-Desktop” on an external drive (also with encryption!) which is bootable and running, at least on qemu/kvm (didn’t have the opportunity to test it on real hardware yet).
So it’s pretty amazing I would say, but there are still a few shortcomings that need to be addressed.
Here are the few things I learnt while experiencing with Calamares:
-
I did not have time to try a UEFI install on a GPT disk, only BIOS on MBR
-
I found the documentation related to calamares quite sparse, but maybe because it is self explanatory to developers (the syntax is very clear)
-
On Debian Buster, the default
calamarespackage does not provide configuration files formoduleswhich must be written by hand, following examples that can be found on github -
Installing the
calamares-settings-debianpackage provides all configuration files used by the debian-live team for their new Buster live images with Calamares installer (link) -
Only after installing
calamares-settings-debianwas I able to have a completely bootable system, so I think it would be a good idea to depart from their experience and configuration files and modify them to our needs (for instance to change the branding) -
The way I understand it, the default installing sequence provided by
calamares-settings-debianmerely copies the content of thefilesystem.squashfsfile into the target and then executes the needed operations (creating new user, configuring fstab, bootloader, etc.), but does not install packages (it does remove the live-boot related packages though). A side-note: it also needs thersyncpackage otherwise the installer will fail. -
The advantage of this is obvious, as the system is created in a matter of minutes (no need to redownload and recreates everything).
-
The problem is that it also copies the already existing ‘user’ and his home directory, and maybe other stuff that we don’t need, very unclean
-
Debian-live installer does not have this problem as its live-user is created at boot-time (its
filesystem.squashfsfile does not contain anything under its/homedirectory) -
It is my understanding that they achieve this behavior by building their iso using the
live-buildtools which are capable of creating complete debian live-systems and have options that enable to run a lot of stuff at boot-time only (and thus these specific configurations are not copied into the target by the installer) -
Not sure if we can use
live-buildto create a hardened Whonix ISO from scratch without having to entirely rewrite the VM build process. Lot of work. -
I did find a workaround by installing the
live-configpackage, which enables to append parameters at boot time (or apply them by default) that can reprouce the behavior of debian live-systems. I think it works by reading script files in/lib/live/configwhich are basically a series of test (such as if no user, then launch the live system with default debian user, etc.) -
The workaround I used was “simply” to copy the user .config files into
/etc/skelon the Whonix-Desktop vm and thenuserdel user. Now the ISO automatically launches an X session with a useruser(full name:Debian Live User) that it creates at boot time (note: I also had to suppress the vboxsf group as it 1000 GUID somehow seemed to conflict with the live-config scripts, preventing them to create the live-user) -
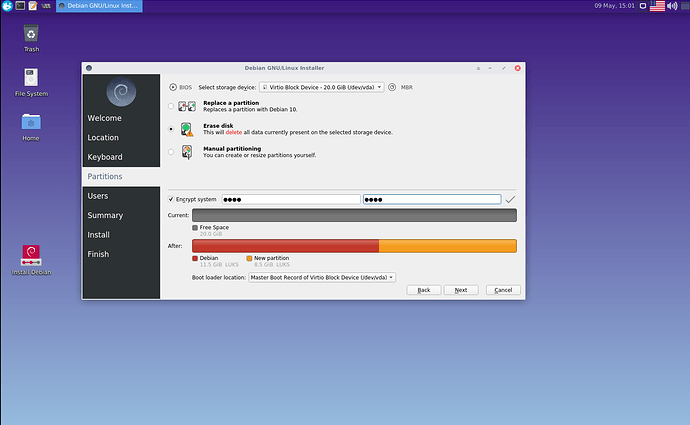
The encryption does not seem to use LVM (is it a problem?)
While it’s quite encouraging and definitely a proof of work, it is still quite experimental, and a lot of configuration work remains to be done, such as:
- Better understand the calamares installer sequence (taking the calamares-settings-debian as a base) in order to configure it exactly to our needs
- Make sure we don’t copy anything unwanted into the target, make sure the new user’s environment on the install target behaves exactly as it is supposed to (also correct groups, etc.)
- Fine-tune the overall ISO environment so it behaves exactly as we need (does the live-user needs sudo rights? Are the settings specific to the hardened debian version environment also applied in live-mode?)
@Patrick et al. what do you think of this? Are you still interested in pursuing this matter further? If yes, what would be the next steps, how could I help further?
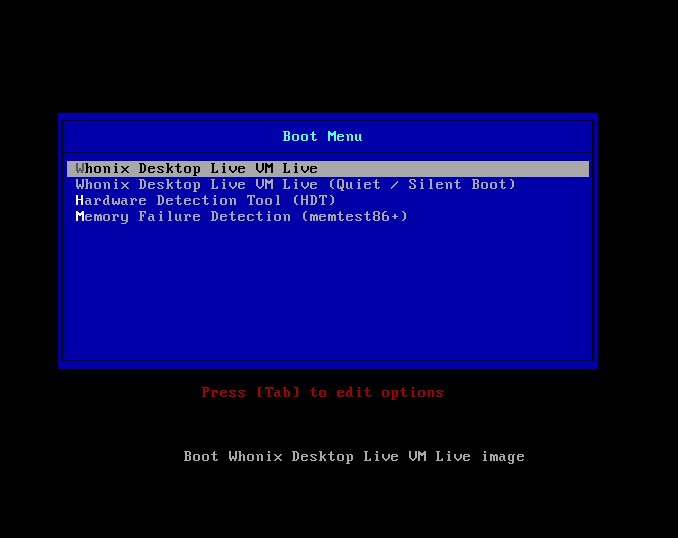
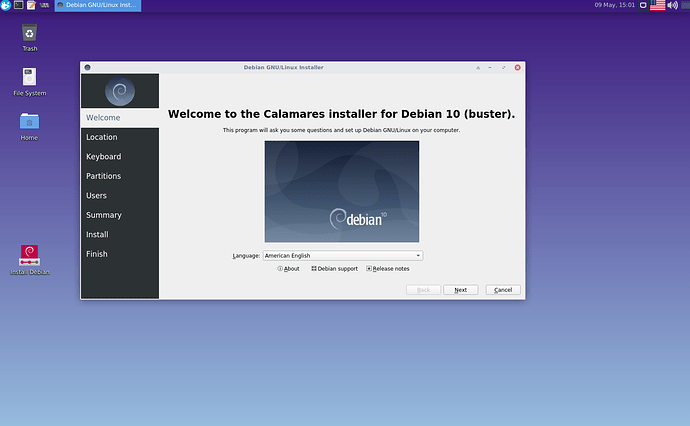
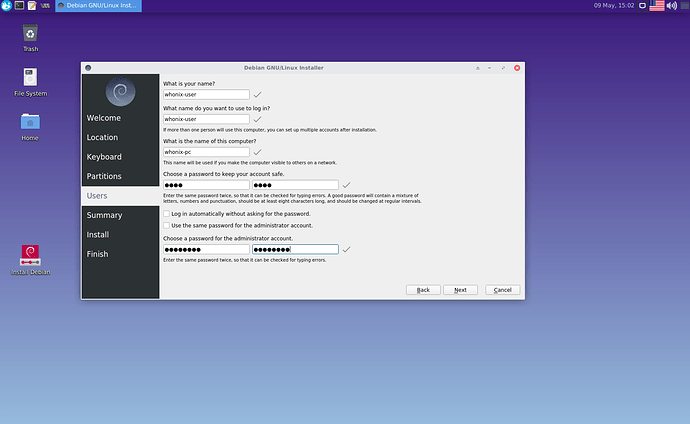
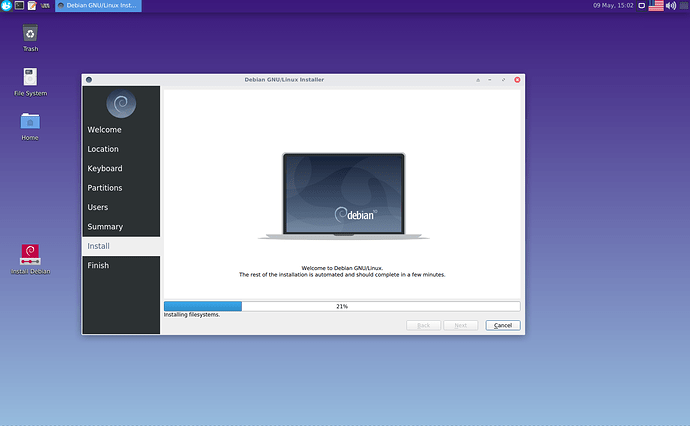
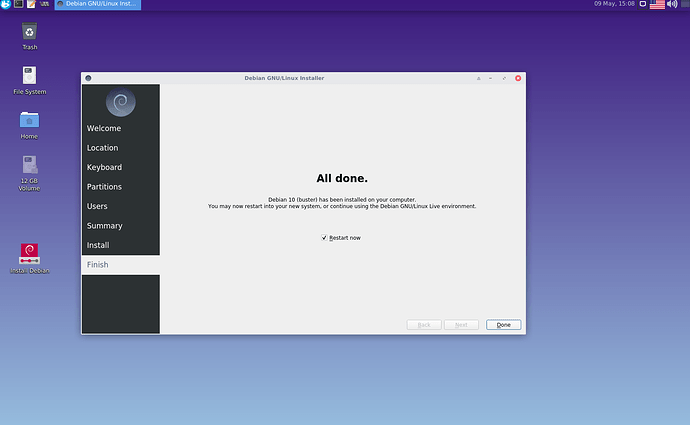
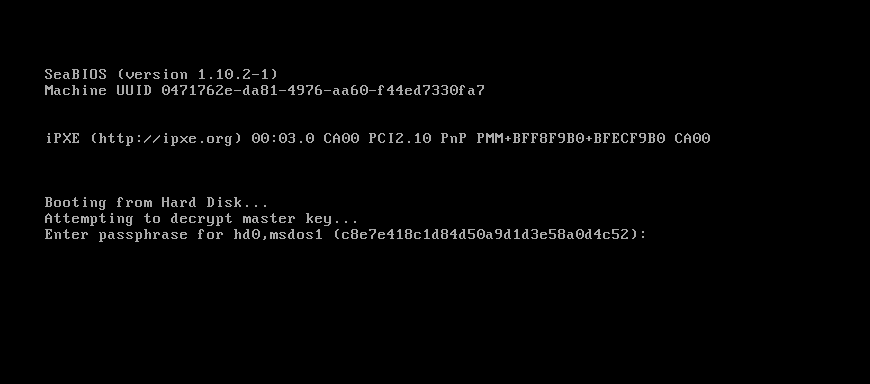
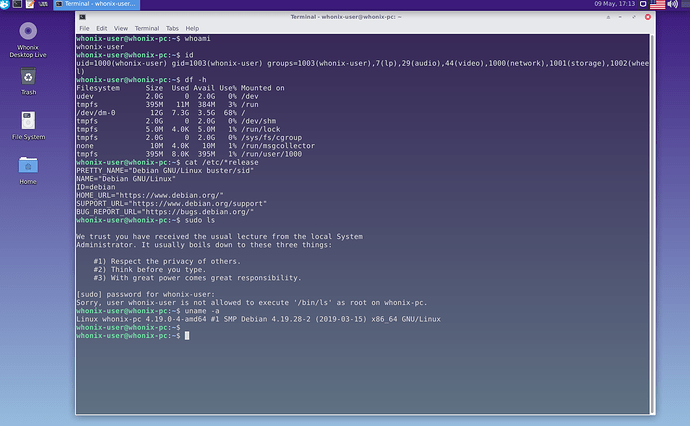
Below some screenshots taken from the Whonix-Host Hardened Debian ISO installing itself on an external virtual hard drive (all done in qemu/kvm):
boot screen with isolinux (BIOS mode)
Calamares installer (default debian 10 branding, I did not try to change anything yet)
rebooting into the installed system
The newly created user does not belong to the libvirt-qemu and kvm groups, there is an option to configure that in
/etc/calamares/modules/users.conf I don’t remember if I modified this file accordingly or not… In any case, it is one of the settings that must be addressed
