Qubes-Whonix 14.0.0.6.9 TemplateVMs for R3.2 and R4--Testers Wanted!

Qubes-Whonix 14.0.0.6.9 TemplateVMs for R3.2 and R4–Testers Wanted!

(Note: This page is a Draft waiting for review by Patrick)

Qubes-Whonix only!

For this testers wanted task, users should create fresh Whonix VMs.

Installing the R3.2 or R4.0 testers Qubes-Whonix 14 TemplateVMs.

Step 1: Clone existing whonix-gw and whonix-ws templates. It is recommended the newly cloned VMs be given names such as whonix-gw-13 and whonix-ws-13. This is to prevent new templates from being confused with other Whonix templates.

Step 2: Change all VMs based on whonix-ws and whonix-gw templates to the newly cloned templates.

Step 3: Remove the current whonix-gw and whonix-ws Qubes-Whonix templates.

In dom0, run.

sudo dnf remove qubes-template-whonix-gw

sudo dnf remove qubes-template-whonix-ws

Step 4: Reinstall whonix-gw-14 and whonix-ws-14 Qubes-Whonix templates release candidate versions.

  • Warning: Reinstalling Whonix templates while using sys-whonix as the updateVM could take hours given the 1.2 GB total to download. It may be preferable to change the Global Setting in Qubes VM manager to temporarily use sys-firewall. Qubes will then download updates over clearnet and the operation will likely take less than an hour.

In dom0, run.

sudo qubes-dom0-update --enablerepo=qubes-dom0-unstable qubes-template-whonix-gw-14 qubes-template-whonix-ws-14

  • Qubes R3.2 note - users might encounter tar errors relating to dom0-updates folder not existing in sys-whonix (if updates are downloaded over Tor) or sys-firewall. If this is the case, before downloading Whonix templates with the command above, the following command should be run in either the sys-whonix or sys-firewall updateVM.

    In updateVM Konsole, run.

    sudo mkdir -m 775 /var/lib/qubes/dom0-updates
    sudo chown user:user /var/lib/qubes/dom0-updates

Step 5: After re-installling templates, clone the whonix-gw-14 and whonix-ws-14 template VMs and name them whonix-gw and whonix-ws.

  • Note: This step is necessary if salt is to be used in step 8 to create sys-whonix and anon-whonix VMs.

Step 6: (Optional ) Users can remove whonix-gw-14 and whonix-ws-14 templates. However, retaining clean Whonix 14 template VMs for later testing may be desirable.

In dom0, run.

sudo dnf remove qubes-template-whonix-gw-14

sudo dnf remove qubes-template-whonix-ws-14

Step 7: Update[1] whonix-gw and whonix-ws template VMs.

The following should be applied in both template VM Konsoles.

sudo apt-get update && sudo apt-get dist-upgrade

Step 8: After updating templates, recreate Whonix VMs from Qubes VM Manager. Optionally, advanced users can create Whonix VMs using salt[2][3].

Create VMs from Qubes VM Manager.

Qubes R4.0

  • Create sys-whonix VM.

    Qubes VM ManagerQubecreate a new qube.

    • Create new VM with these settings.

      Name and label: sys-whonix-14 ( purple )
      Type: AppVM
      Template: whonix-gw
      Networking: sys-firewall
      Advanced: provides network (check)

* Create `anon-whonix` VM

    `Qubes VM Manager` -> `Qube` -> `create a new qube`.

    * Create new VM with these settings.

      Name and label:     `anon-whonix-14`      ( purple )
     Type:               `AppVM`
     Template:           `whonix-ws`
     Networking:         `sys-whonix-14`
     Advanced:            `n/a`

Qubes R3.2

  • Create sys-whonix VM.

    Qubes VM ManagerQubecreate a new qube.

    • Create new VM with these settings.

      Name and label: sys-whonix-14 ( purple )
      Type: ProxyVM
      Template: whonix-gw
      Networking: sys-firewall

* Create `anon-whonix` VM.

    `Qubes VM Manager` -> `Qube` -> `create a new qube`.

   * Create new VM with these settings.

     Name and label:         `anon-whonix-14`   ( purple )
     Type:                   `AppVM`
     Template:               `whonix-ws`
     Networking:             `sys-whonix-14`

( Optional ) Create Whonix VMs using salt. Advanced users only!

Users have the option of using salt to recreate sys-whonix and anon-whonix VMs. Since no two VMs can have identical names. It would require any current Whonix-13 based sys-whonix or anon-whonix VMs to be renamed prior to using salt.

In dom0, run.

sudo qubesctl state.sls qvm.anon-whonix

  • Note: Users should verify salt creates VMs sys-whonix and anon-whonix based on Whonix 14 templates. If problems are encountered such as the newly created VMs are Whonix 13 based. sys-whonix ProxyVM and anon-whonix AppVM can be created manually from Qubes VM Manager.

  • Users can verify sys-whonix and anon-whonix VMs are based on Whonix 14 by listing the Debian apt sources.list. Newly created Whonix 14 VMs use Debian stretch (stable) as opposed to Whonix 13 VMs which use Debian jessie (old stable)

    In both sys-whonix and anon-whonix VM konsoles, run.

    cat /etc/apt/sources.list.d/debian.list

    The first 2 lines of output will show the following for Whonix 14 based VMs.

    deb tor+http://sgvtcaew4bxjd7ln.onion stretch/updates main contrib non-free
    deb http://security.debian.org stretch/updates main contrib non-free

Step 9: Copy the Whonix 13 Tor State to the newly created Whonix 14 (sys-whonix) VM. Users are encouraged to complete this step to maintain the same Tor entry guard and defend against tracking attempts by advanced adversaries.

Note: Steps to copy Tor state to secondary VM are in testing. Once complete, they will be added to the Whonix wiki. This will be completed shortly. Help welcome!

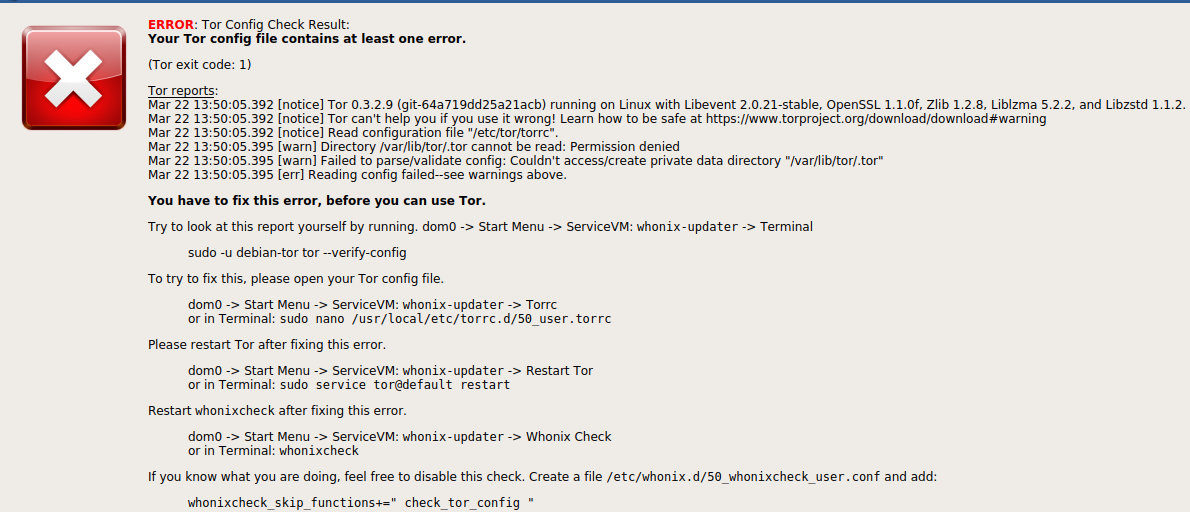
Please report any bugs in the Whonix forums so they can be addressed before the final Whonix 14 release.

It should be noted that users also have the option of doing an in-place upgrade of Whonix 13 to Whonix 14, rather than using the release candidate TemplateVMs. If this is preferable, follow the Testers-only documentation at the link below.

https://whonix.org/wiki/Upgrading_Whonix_13_to_Whonix_14

Detailed release notes for Whonix 14 can be found here: Changelog - Whonix

[1] https://www.whonix.org/wiki/Qubes/Update
[2] https://www.whonix.org/wiki/Dev/Qubes#salt
[3] https://www.qubes-os.org/doc/salt/

2 Likes

Blog entry suggestions removed to shorten thread.

2 Likes

Hi torjunkie

Thanks for the feedback and polishing up the page! It looks great! I wasn’t really sure how to format a blog post and what syntax to use. Now I know. :wink: - I’ll make the edits to the doc a little later on today.

BTW I really appreciate all the help and guidance you’ve given!!! One of the things that sets the Whonix project apart from others is the willingness of the core community members to always find time to educate less experienced members like myself. Not sure how you find the time but I have to say YOU ALL ROCK!!

One other thing. I saw R-4 specific instructions to install Whonix VMs and configure sys-whonix and anon-whonix using salt. I was wondering if this could/should be use in the upgrade to Whonix 14 in the blog post . I haven’t tried using this salt syntax and was thinking it might make the instructions more complicated if it was added?

https://whonix.org/wiki/Dev/Qubes#salt

3 Likes

I was writing the draft in markdown syntax and then converting it to html by using some random online convertors, like this one: Markdown to HTML Converter - Markdown Editor - Online - Browserling Web Developer Tools

And then I would do some adjustment using the preview feature on the blog before posting it.

This probably will not be the best way, but hope it is kind of helpful. :slight_smile:

Thank you for spending time preparing the draft, @0brand ! Great job!

3 Likes

The original draft was edited to mirror your suggestions. Thanks again!

1 Like

Blog entry suggestions removed to shorten thread.

1 Like

Done.

3 Likes

There r some numerous issues from first look up:- (the test done inside Qubes 3.2)

  • Cant connect to Tor due to this issue:

  • Graphical issue inside Dolphine (maybe xfce nautilus interruption?)


  • Move/Copy to other VMs is not there

1 Like

Thank you for testing, @nurmagoz !

Could you please copy and past the output of the following two commands executed in the Whonix-gateway:

sudo --non-interactive /usr/bin/tor --defaults-torrc /usr/share/tor/tor-service-defaults-torrc -f /etc/tor/torrc --RunAsDaemon 0 --verify-config

cat /etc/tor/torrc

1 Like

I have the same issue in Dolphin. I then installed nautilus and the options are available in nautilus.

1 Like

i c , well thats a bug by itself. we cant use xfce stuff mixed with kde because that will expand the surface of attack + its not tested before.

1 Like
  • Remove the Dead project Ricochet = 2 years no voice

The latest version is 1.1.4 (November 5, 2016)

  • Remove KDE-Help inside GW and WS as it might request suspicious requests which could leak potential data
1 Like

mirrors of onion whonix v2 or v3 no hope to connect to them, they r down or so missed.

1 Like

Are we supposed to add reports in this thread?
On Qubes 4.0 rc5, updated from current-testing, after removing sys-whonix, and installing the new templates, sudo qubesctl state.highstate completes, but does not create sys-whonix etc , as is (I assume) the intention.
At least, not for me.

3 Likes

Step 1: Either rename sys-whonix and anon-whonix or remove both VMs.

Two points:

  1. If you use sys-whonix as default netvm, you will first have to change that for all downstream qubes. (In 4.0, changing the default netvm does not seem to change this for all dependent qubes.)
  2. If you use sys-whonix as your updateVM and rely on it for anonymity, then deleting it first and then downloading the new templates will download on clearnet, which is probably not what you want.

I realise this is a draft: how about downloading the templates, then deleting sys-whonix and recreating it? (I haven’t tried this.) I suspect there will be a conflict on template names, so the answer would be:
Clone existing whonix-gw to whonix-gw-13
Shutdown sys-whonix and change template to whonix-gw-13.
Restart sys-whonix
Reinstall Qubes-Whonix templates
etc etc

4 Likes

Damn - good points unman. Normally I test instructions first to make sure they make sense and work properly. @0brand - happy to fix?

3 Likes

I see, the permission on Tor data directory seems to be the problem.

Could you please check if there is any different between the following permissions and yours:

user@host:~$ sudo ls -ld /var/lib/tor
drwx--S--- 2 debian-tor debian-tor 4096 Mar 23 15:33 /var/lib/tor

If there is any different, try fixing it with:

user@host:~$ sudo /usr/bin/install -Z -m 02700 -o debian-tor -g debian-tor -d /var/lib/tor

And then restart the Tor.

If there is still any problem, could you please report the output of this again:

sudo --non-interactive /usr/bin/tor --defaults-torrc /usr/share/tor/tor-service-defaults-torrc -f /etc/tor/torrc --RunAsDaemon 0 --verify-config

Thank you!

2 Likes

done everything = still the same

1 Like

The owner and group was pulse and sdwate which have been corrected to debian-tor and debian-tor . Tor says: Configuration was valid.

I think Tor should run well now.

For restarting the Tor, you can try either using the desktop shortcut or:
user@host:~$ systemctl restart tor@default.service

To verify tor really works:

user@host:~$ systemctl status tor@default.service 
● tor@default.service - Anonymizing overlay network for TCP
   Loaded: loaded (/lib/systemd/system/tor@default.service; static; vendor preset: 
  Drop-In: /lib/systemd/system/tor@default.service.d
           └─30_qubes.conf, 40_obfs4proxy-workaround.conf, 40_qubes.conf, 50_contro
   Active: active (running) since Fri 2018-03-23 16:51:17 UTC; 5s ago              
  Process: 5675 ExecStartPost=/bin/kill -HUP ${MAINPID} (code=exited, status=0/SUCC
  Process: 5670 ExecStartPre=/usr/bin/tor --defaults-torrc /usr/share/tor/tor-servi
  Process: 5665 ExecStartPre=/usr/bin/install -Z -m 02755 -o debian-tor -g debian-t
 Main PID: 5672 (tor)
    Tasks: 1 (limit: 4915)
   CGroup: /system.slice/system-tor.slice/tor@default.service
           └─5672 /usr/bin/tor --defaults-torrc /usr/share/tor/tor-service-defaults 

I usually also use arm to see the established circuits for verification, too.

1 Like

I am curious what could be the cause of this. Did you anyone else encounter the same issue?

1 Like